Sublime Text is a lightweight, multi-platform text editor. It has lots of cool features which you will love once you start using it. It is available for Ubuntu, Windows and Mac OS X. Sublime Text has a proprietary licence, but the application can also be used for free, without needing to do reverse engineer hacking. Those who want to support the developer’s work can buy Sublime Text for $70.
Features of Sublime Text
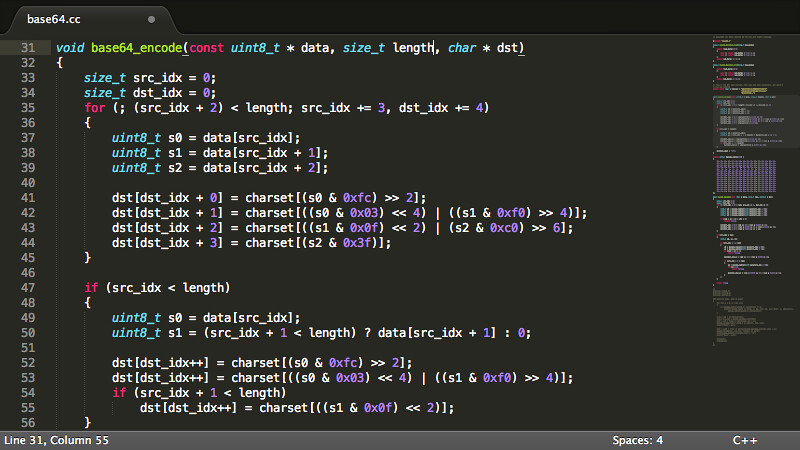
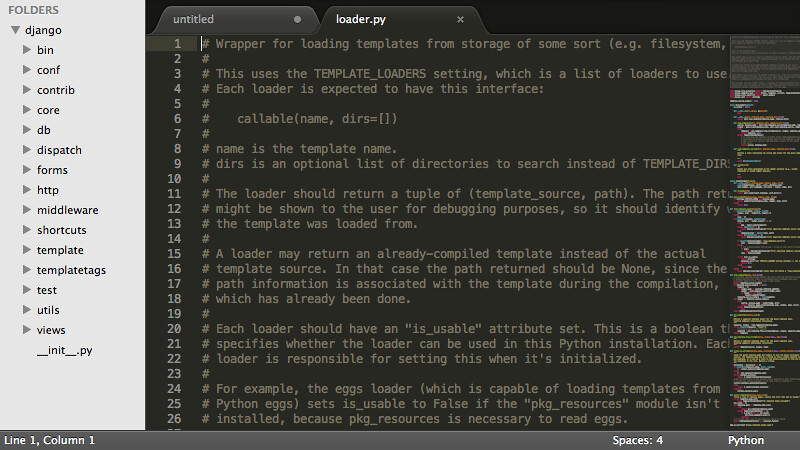
- Editing files side by side i.e you can have multiple views in same window
- Cross platform
- Functionality to find and replace with regular expressions
- Batch edit with multiple selections
- Rename variables quickly using multiple selections
- The command palette give fast access to functionality
- Using goto anything, you can quickly navigate between files
Installing Sublime Text
There are two versions of Sublime Text currently available to install. You can install any one version.
Installing Sublime Text 2
Open terminal and type the below commands to install Sublime Text 2
$ sudo add-apt-repository ppa:webupd8team/sublime-text-2
$ sudo apt-get update
$ sudo apt-get install sublime-text
To remove Sublime Text 2
$ sudo apt-get remove sublime-textInstalling Sublime Text 3
Open terminal and type the below commands to install Sublime Text 3
$ sudo add-apt-repository ppa:webupd8team/sublime-text-3
$ sudo apt-get update
$ sudo apt-get install sublime-text-installer
To remove Sublime Text 3
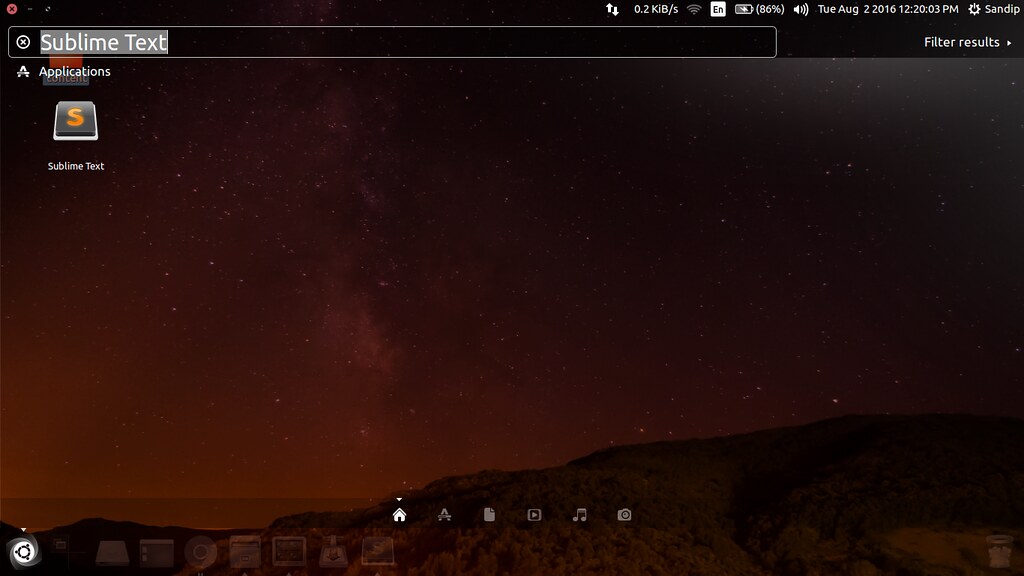
$ sudo apt-get remove sublime-text-installerAfter the installation completes, open Dash and type Sublime Text and click on it to start the Sublime Text editor.
Some screenshots