For anyone who is learning React Native, the starting point is the official tutorial. You must have gone through it and now have a better idea
of what React Native is all about.
You have no idea about where to go from here, though.
If you do a Google search, you will get lots of tutorials and blogs on seemingly any topic relating to React Native. But they also use lots of fancy words that you might not understand if you are just starting out or some might be too easy for you depending upon your level of experience. What most of these tutorials lack is the targeted audience. A beginner who is just starting to learn might get lost if you start talking about React Navigation, or Redux or Axios. What he expect is using the default set of libraries provided by react native to build something that can help him gain experience.
So, in this tutorial, we will build a project from scratch from the perspective of a person with little knowledge of React Native. We will progress step by step and gradually add more features to our app with the intention of learning by doing.
The project we will be building is named GithubAPIExampleRN. This project will help you learn all the basics of React Native from beginner to advance level. This app allows you to type a Github username and list all his repos. In other to make our task easy we will use Github API. The API is public and doesn’t need authentication.
So assuming you have followed basic tutorial of React Native from official site, let’s start.
We will build a very basic version of this app first and slowly we will update it and make it advance.
Create a new project by typing the below commands in terminal
react-native init GithubAPIExampleRN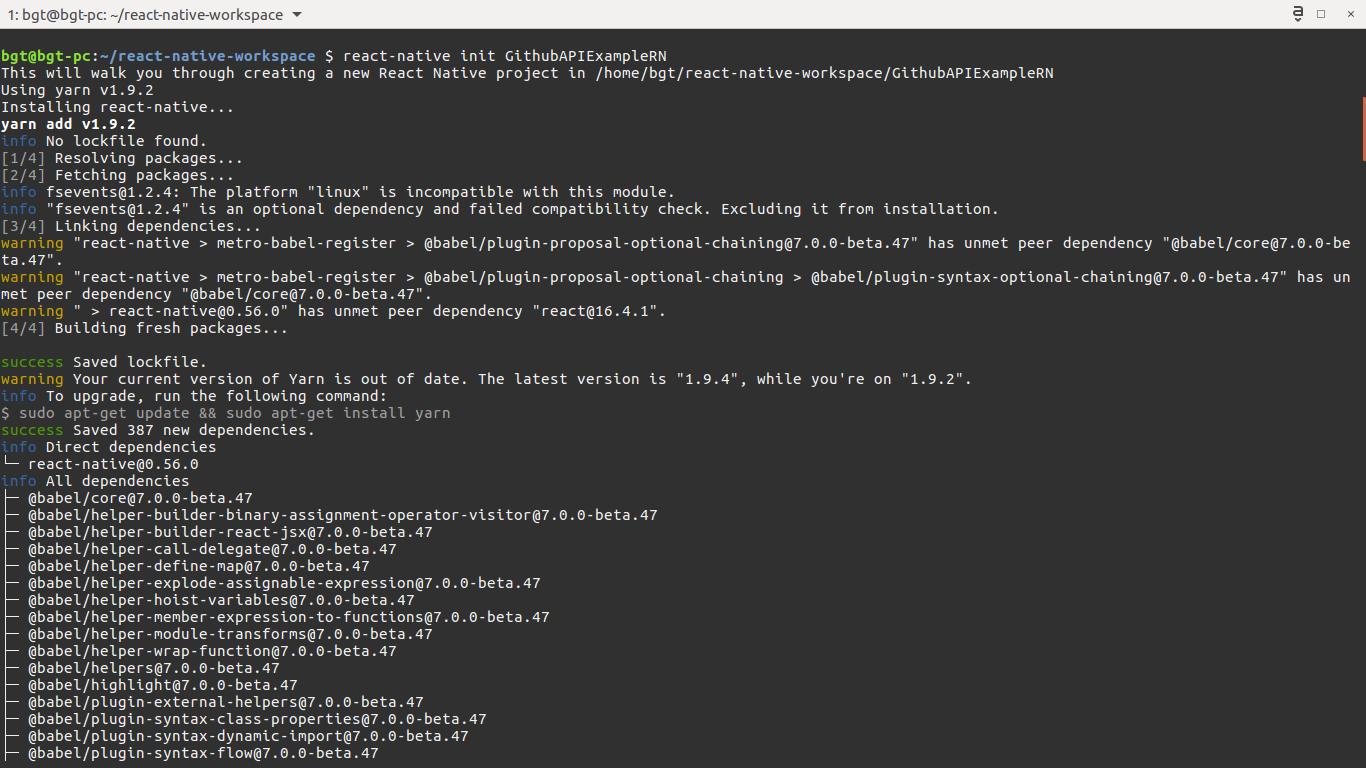
Now lets go inside our project directory and start the project
cd GithubAPIExampleRN
react-native run-android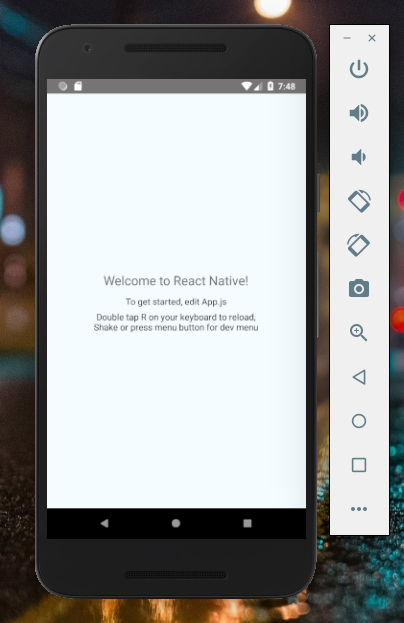
If everything is working properly, let’s get our hands dirty.
Open App.js inside our project directory and replace all the code with the following. Don’t worry, I will explain each and everything as we progress.
import React, {Component} from 'react';
import {
  StyleSheet,
  Text,
  View,
  TextInput,
  Dimensions,
  TouchableOpacity,
  Alert,
  ScrollView
} from 'react-native';

const screenWidth = Dimensions.get('window').width;

export default class App extends Component {
  render() {
    return (
      <View style={styles.container}>
        <Text style={styles.label}>GitHub Username</Text>
        <TextInput
          placeholder="Enter your github username"
          style={styles.input}
        />
        <TouchableOpacity
          style={styles.button}
          activeOpacity={0.8}
          >
          <Text style={styles.buttonText}>VIEW</Text>
        </TouchableOpacity>
      </View>
    );
  }
}

const styles = StyleSheet.create({
  container: {
    flex: 1,
    padding: 10,
    backgroundColor: '#FFFFFF',
  },
  label: {
    fontSize: 16,
    marginBottom: 6,
  },
  input: {
    width: screenWidth - 20,
    height: 38,
    padding: 4,
    fontSize: 16,
    borderColor: '#3a3a3a',
    borderWidth: 1,
    borderRadius: 8,
  },
  button: {
    height: 45,
    flexDirection: 'row',
    backgroundColor:'#263238',
    borderColor: '#263238',
    borderWidth: 1,
    borderRadius: 8,
    marginBottom: 10,
    marginTop: 10,
    alignSelf: 'stretch',
    justifyContent: 'center'
  },
  buttonText: {
    color: '#FFFFFF',
    fontSize: 18,
    alignSelf: 'center',
  }
});
Let’s go through the code step-by-step:
- First we imported required modules and some extra modules which we will use later in our code.
- Second we defined the component that represents the UI.
- Third we created a style object that controls the component’s layout and appearance.
The main part to consider is render() function inside the App class. Here we are returning a View component which contains three child components.
The Text component is used to display text. Here, we are using it to display label for our form.
The TextInput component is used to get input from user. In our app, we need to allow user to fetch repos by entering Github username. So, we have used this component.
The TouchableOpacity component is used to create a button to submit the form. Inside, there is another Text component which is used to display the label for the button.
We have applied styles to all our component using the style property of the respective component to get a nice looking UI.
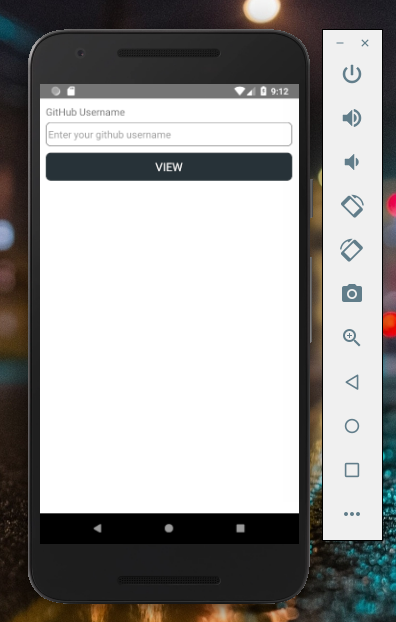
Save your changes to App.js and return to the emulator. Double tap R on your keyboard, and you’ll see your app starting to take shape:
You can skip having to refresh the app by enabling live reload feature. Press Cmd+M fr MAC or Ctrl+M for Windows/Linux in the emulator, then select Enable Live Reload:

So far, we have completed the UI of our app. Now, let’s add functionality to it so that it can be useful.
First add state object inside App component before render() function and add some default properties to it.
state = {
  username: '',
  repos: [],
}
Add new function _handleChange after state object. This function is used to sync the value of username property of state object with the value entered in TextInput component.
_handleChange = (evt) => {
  this.setState({
    username: evt.nativeEvent.text
  });
}
Add onChange property to TextInput component. This property allows us to link our _handleChange function to onChange event of TextInput
<TextInput
  placeholder="Enter your github username"
  style={styles.input}
  onChange={this._handleChange}
/>
Add new function _getUserRepos after _handleChange function. This function will call the Github API and get the list of repos for a given user in json format.
_getUserRepos = (username) => {
  username = username.toLowerCase().trim();
  const url = `https://api.github.com/users/${username}/repos`;
  return fetch(url).then((res) => res.json());
}
Add new function _handleSubmit after _getUserRepos. This function is used to handle the button. When the user clicks on VIEW button, this function will call _getUserRepos function and when response is received, it will update our state object.
_handleSubmit = () => {
  this._getUserRepos(this.state.username)
    .then((res) => {
      this.setState({repos: res});
    });
}
Add onPress property to TouchableOpacity component. This property allows us to link our _handleSubmit function to onPress event of TouchableOpacity
<TouchableOpacity
  style={styles.button}
  activeOpacity={0.8}
  onPress={this._handleSubmit}>
  <Text style={styles.buttonText}>VIEW</Text>
</TouchableOpacity>
So far everything is in place but if you type your github username and click on VIEW button, nothing will happen. We don’t have any way to display the response received from Github API.
Add new function _renderRepos after _handleSubmit function. This function is responsible for rendering repos list. We are using a ScrollView component and inside it, we are looping through the repos state and displaying the repo name in View component.
_renderRepos = () => {
  return (
    <ScrollView>
      {
        this.state.repos.map((repo, i) => {
          return (
            <View key={i}>
              <Text>{i}, {JSON.stringify(repo.full_name)}</Text>
            </View>
          )
        })
      }
    </ScrollView>
  )
}
Add { this._renderRepos() } after TouchableOpactity button component in render function of App component. Here’s the updated code.
render() {
  return (
    <View style={styles.container}>
      <Text style={styles.label}>GitHub Username</Text>
      <TextInput
        placeholder="Enter your github username"
        style={styles.input}
        onChange={this._handleChange}
        value={this.state.username}
      />
      <TouchableOpacity
        style={styles.button}
        activeOpacity={0.8}
        onPress={this._handleSubmit}>
        <Text style={styles.buttonText}>VIEW</Text>
      </TouchableOpacity>

      { this._renderRepos() }

    </View>
  );
}
Now, type your Github username in the Github Username field and click on VIEW button. Your github repos will be listed below the button and since, we have used ScrollView component you can also scroll the list if the list is longer.
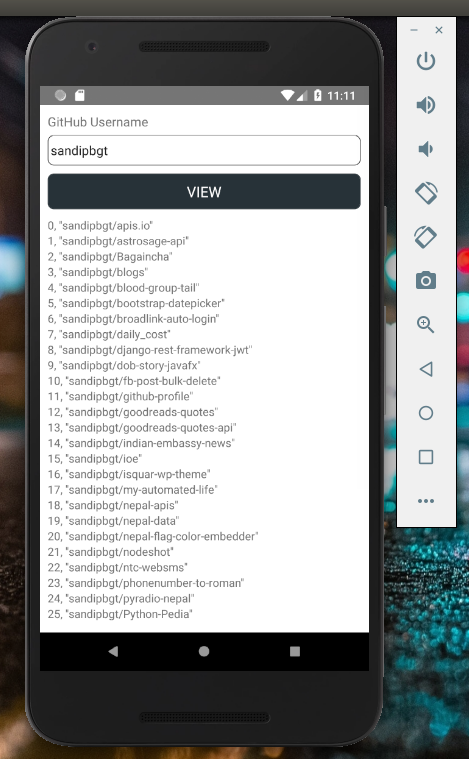
This concludes our basic app. In next post, we will use FlatList component for better performance.
Congratulations on completing this React Native tutorial! You can find the complete project here